Getting started
The first time you open CyclingIQ, you choose how you want to start:
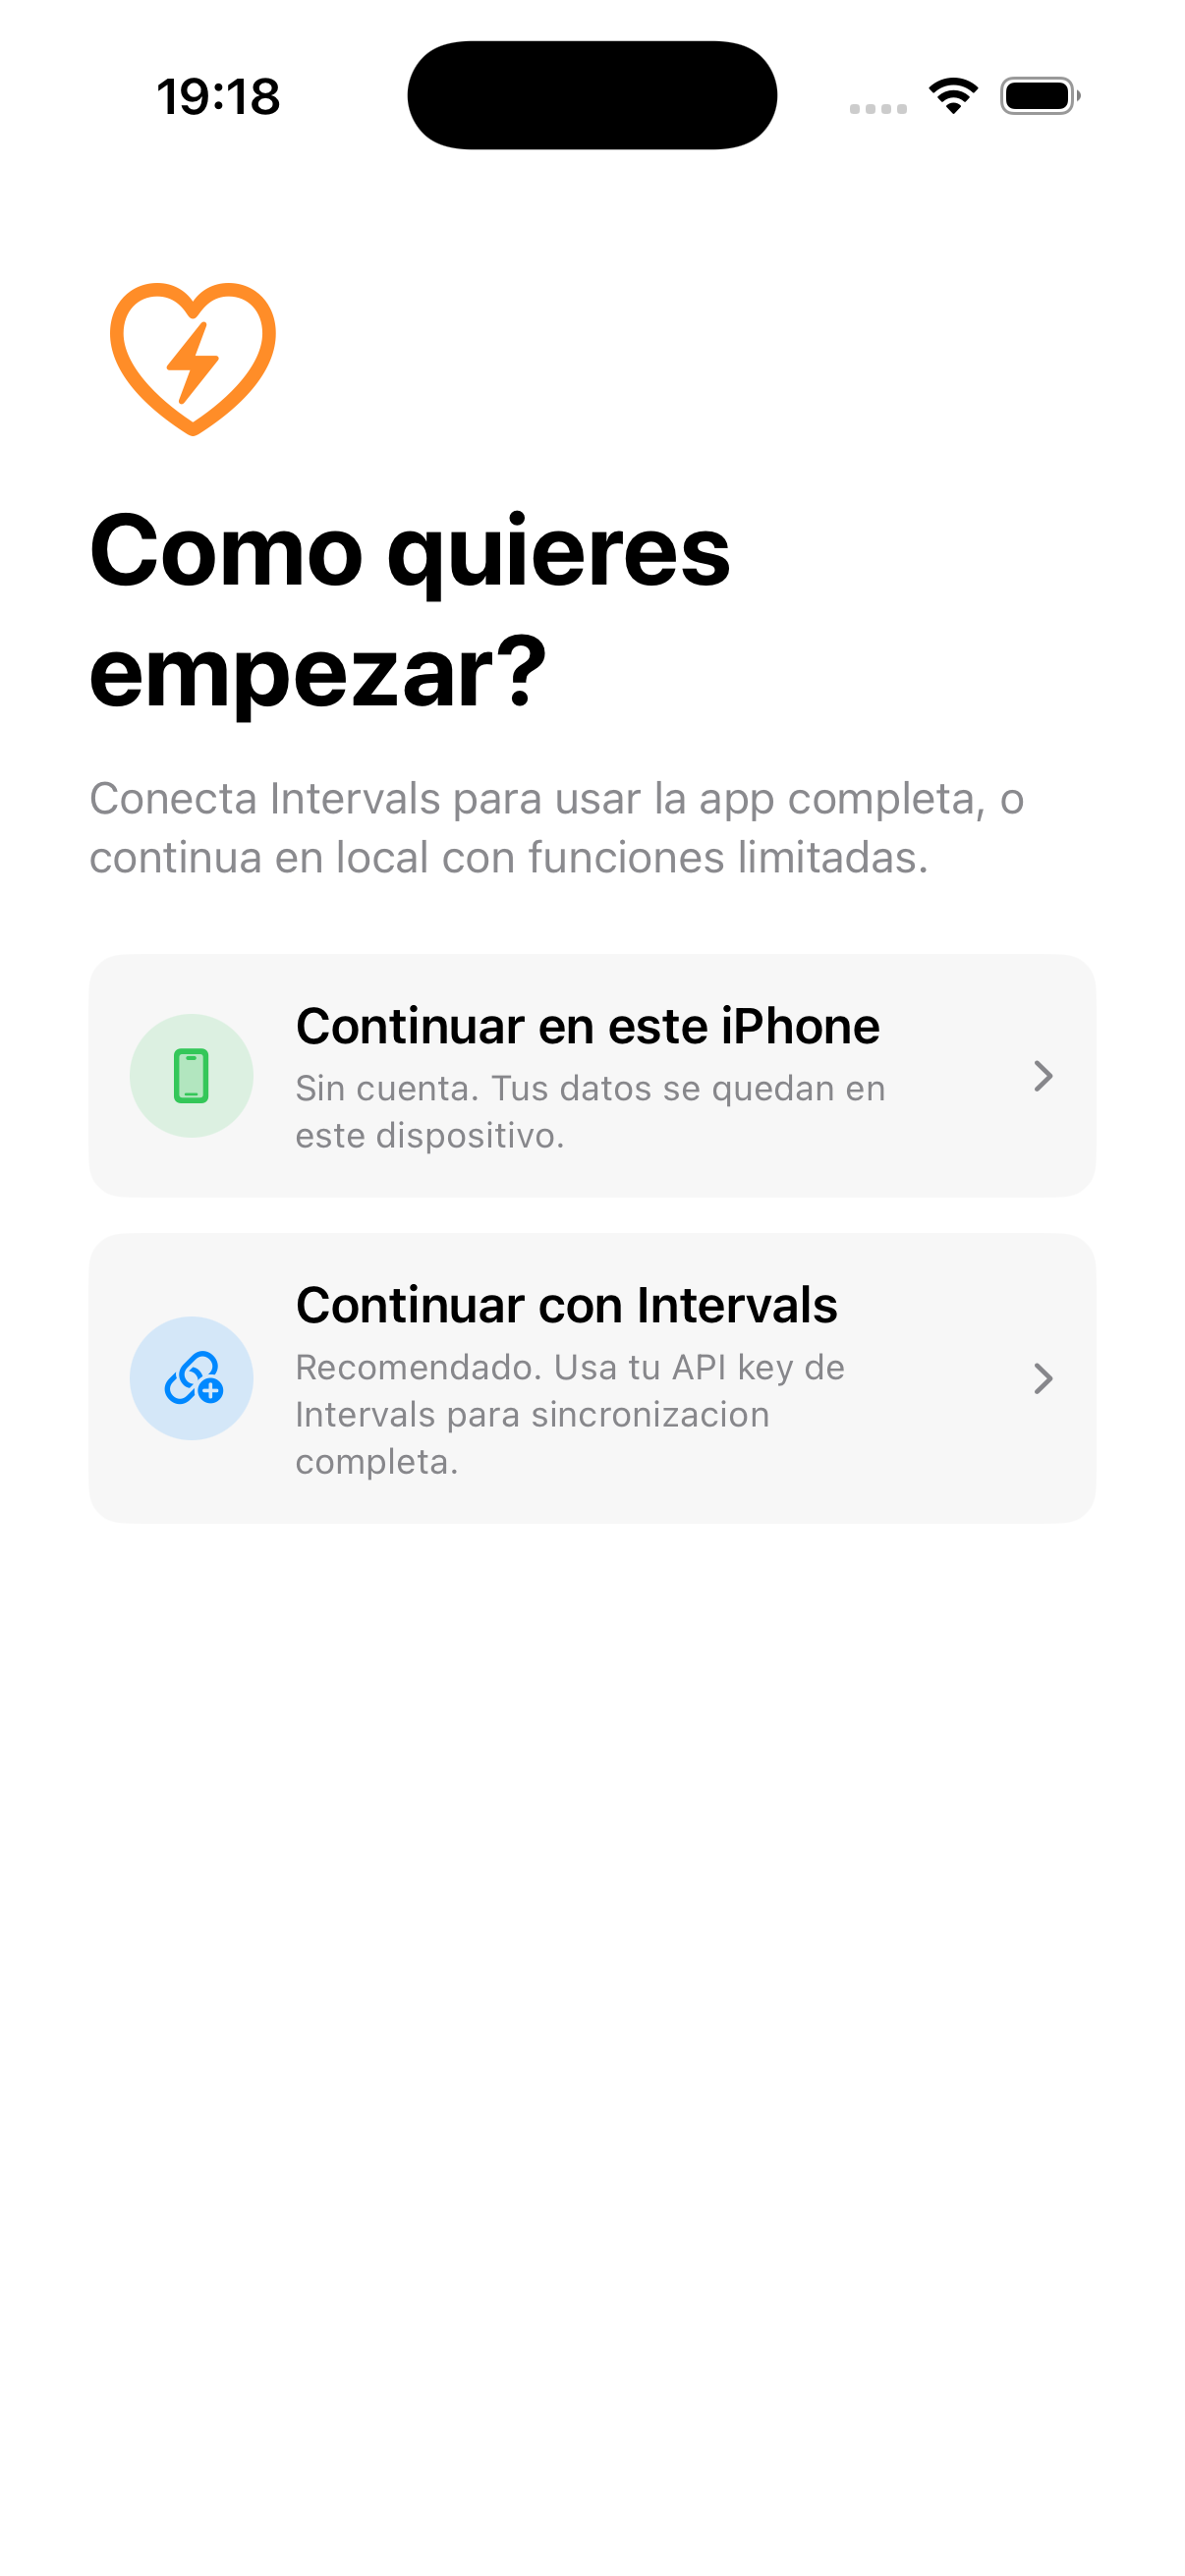
Note
This particular screenshot was captured in Spanish ("Cómo quieres empezar?") — the English wording is the same choice, translated.
Continue on this iPhone
No account, nothing to connect. Your data — activities, workouts, fitness history — stays only on this device. This is the fastest way to try the app, and it's what every screenshot in this manual uses.
You can still connect Strava or Google Health later from Settings, even in local mode.
Continue with Intervals
The recommended path if you already track your training on Intervals.icu. You sign in with your Intervals.icu email and password (or an API key, if you prefer) — CyclingIQ never asks you to create a separate account or copy technical keys around.
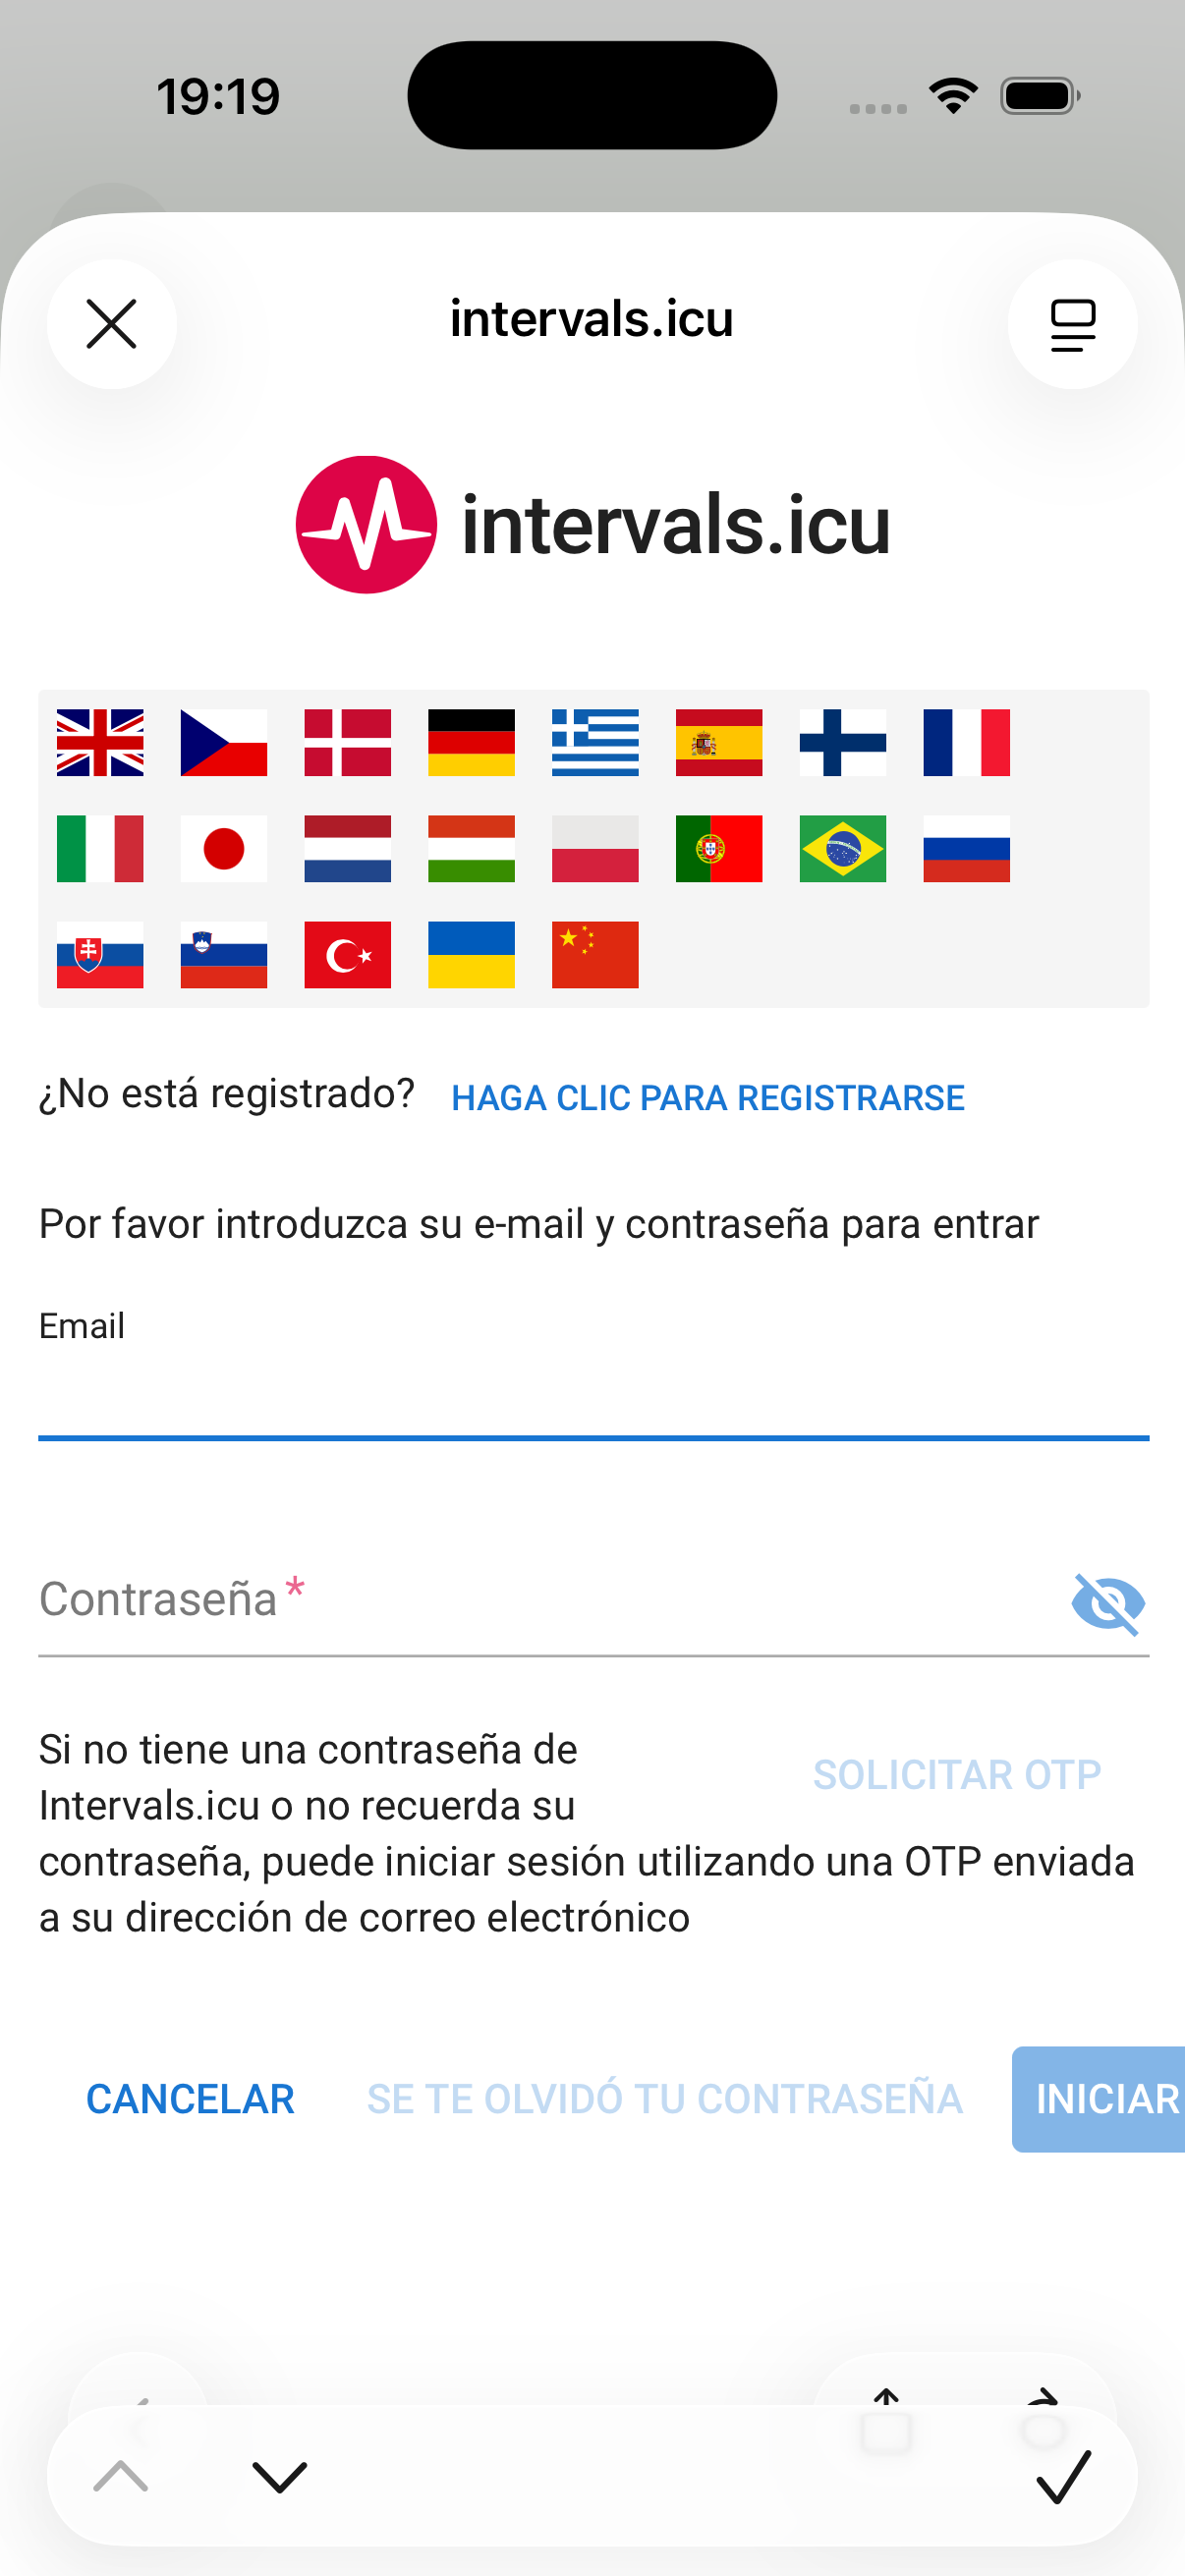
Once connected, Intervals.icu becomes your primary data source: your activity history, FTP, and fitness numbers sync automatically, and workouts you complete in CyclingIQ upload back to Intervals.icu.
Which one should I pick?
| Continue on this iPhone | Continue with Intervals | |
|---|---|---|
| Setup | Instant | Sign in once |
| Activity history | Only what you log manually or import | Full synced history |
| Fitness graph (CTL/ATL/form) | Based on local activities only | Based on your full training history |
| Strava, Google Health | Optional, connect anytime | Optional, connect anytime |
You can switch later — connecting Intervals.icu from Settings while already in local mode doesn't lose anything you've already logged.